How do you feel about patches, cracks and color variation showing in the finished floor?
No votes yet. Yours will be the first. · saved on this device
Loading...
Concrete Finish Notes · Planning
Plan a polished concrete floor in this order: uncover and test a small patch of slab, decide what you will accept in patches and cracks, choose a CPC appearance level and aggregate exposure class, ask for a mock-up on your own floor, then write a one-page brief so every contractor prices the same job. Schedule around furniture removal, dust control and cure time.
By Concrete Finish Notes editorial · Updated 2026-09-25
A polished floor is the only flooring project where the material is already installed. That changes how planning works. With tile or vinyl you pick a product and the installer prepares a surface for it; with polishing, the surface is the product, and its history of patches, trowel marks, plumbing trenches and old adhesive is going to show. Good planning is mostly about finding out what that history looks like before you commit, and deciding in advance how much of it you are willing to see.
This guide follows the order in which decisions constrain each other. The slab's condition limits which finishes make sense, the finish sets the number of grinding passes, the passes set the price and the schedule, and the schedule decides how much of the house has to be emptied. Skipping ahead, for example by choosing a high-gloss finish before anyone has tested the slab's hardness, is the usual way owners end up paying for passes that do not produce the look they wanted.
Start by pulling back a corner of carpet or lifting one tile in the least visible spot of each room you want finished. You are looking for four things: the color and texture of the bare concrete, any adhesive or paint residue, cracks and how wide they are, and patches or trenches where the slab was cut and refilled. Photograph each patch with a tape measure in frame. Most owners have a slab to check: our analysis of the federal government's 2024 household survey found 32.4% of homes sit over a slab and 29.5% over a basement, and 41.1% of basement homes report the basement unfinished.
Also note the slab's age if you know it, whether the room has ever flooded or felt damp, and whether the floor slopes noticeably. Age matters because very new concrete may not be cured enough to polish evenly, and older slabs often carry layers of history. Moisture matters less for polishing than for coatings, since polished concrete has no film to blister, but it still affects dyes, guards and any leveling compound. Slope matters because grinding follows the surface; it does not flatten a floor on its own.
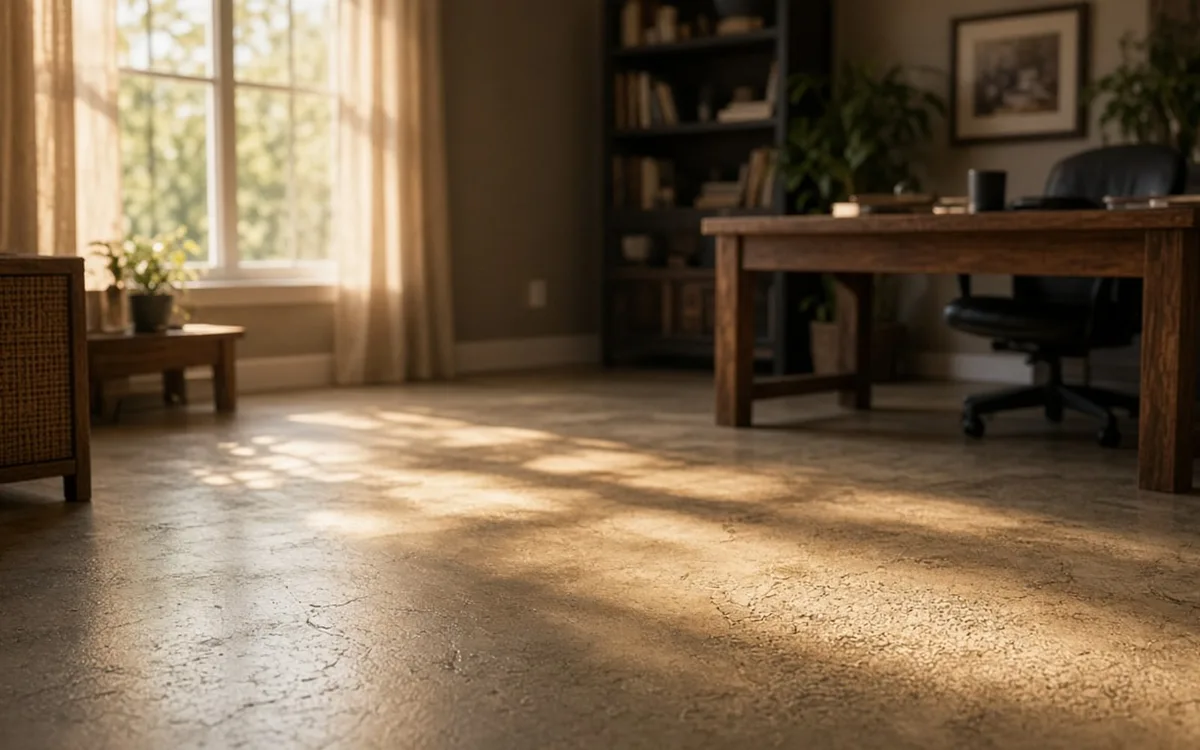
This is the decision owners most often skip, and it is the one that causes the most regret. Every existing slab shows something after polishing: a lighter patch where a wall once stood, a line where plumbing was trenched, tack-strip nail holes along the walls, darker areas where oil or water sat for years. A contractor can fill and blend many of these, but blended is not invisible. Decide now whether you want character or uniformity, because the answer may point you away from polishing entirely.
Owners who want a perfectly even color usually belong on a coating or an overlay, not a polish. Owners who like the idea of the house's history showing tend to be happiest with polished concrete. Most people sit in between, and for them the mock-up described below is essential. It is worth reading how others answered the poll on patches and variation before deciding, since the spread of answers shows how differently people react to the same floor.
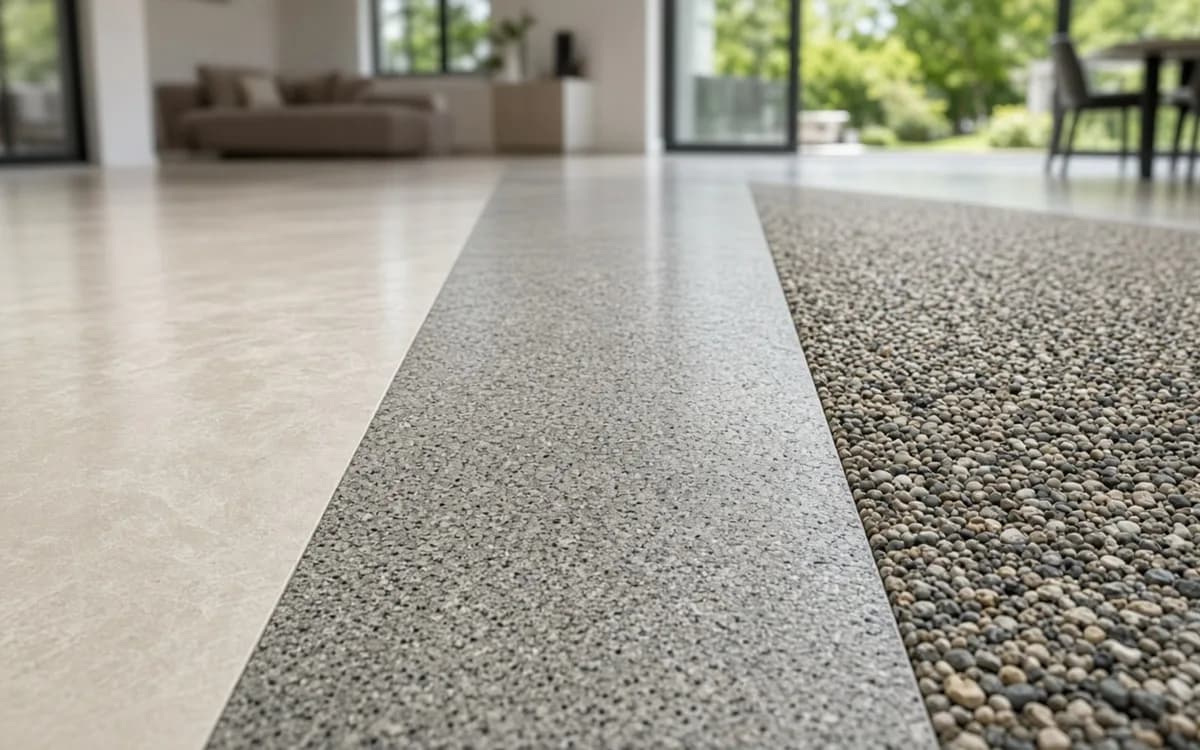
The Concrete Polishing Council defines four appearance levels by how sharply the floor reflects an image, from DOI 0–9 to 70+ on its Distinctness-of-Image scale. Level 2, satin or honed, hides scuffs and dust and suits most houses. Level 3 gives a clear reflection. Level 4 is the mirror look seen in showrooms, and it takes more passes and more upkeep to keep. Pick the lowest level that gives you the look you want; each step up adds grinding and polishing work, which is why Angi's July 2026 guide prices matte at $2–$6/square foot, semigloss at $3–$8/square foot and high gloss at $8–$15/square foot.
Exposure is the second axis. The Council's chart describes cream, salt-and-pepper and coarse-aggregate surfaces at 85–95% / 80–90% coverage of the intended material. Cream grinds the least and shows the most trowel marks and color variation. Salt-and-pepper exposes fine sand and small stones and often hides patches better. Full aggregate requires the deepest cut and can reveal voids and uneven stone. The honed versus high-gloss comparison covers the sheen trade-off in detail.
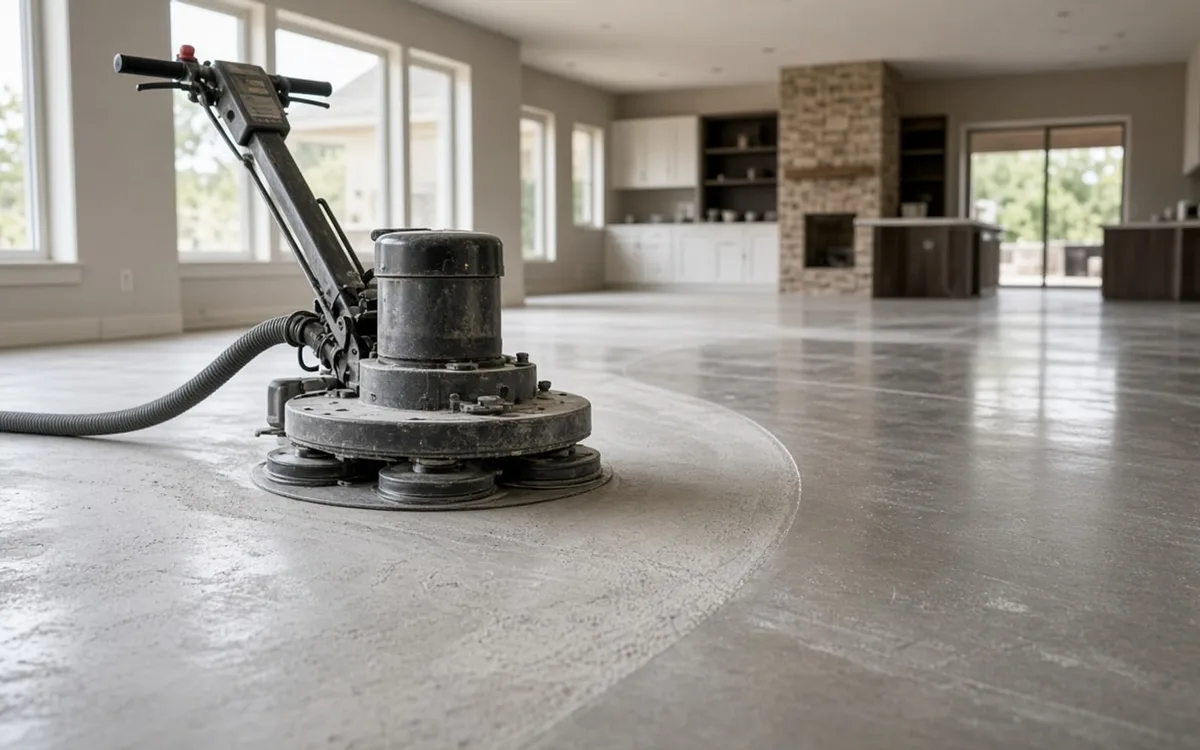
A mock-up is a small area ground, densified and polished to the proposed specification on your actual slab. It is the only way to see how your concrete responds, and the Concrete Polishing Council's exposure chart itself recommends one. Ask for it in the most difficult part of the floor: near a patch, across a trench line, or where the old flooring adhesive was thickest. A mock-up placed in the cleanest corner tells you very little.
Agree in writing what the mock-up represents. It should use the same tooling sequence, densifier and final grit as the full job, and it becomes the reference for approving the finished floor. Some contractors charge for it and credit the cost against the contract; others include it. Either is reasonable. What is not reasonable is a contractor who will not produce one at all on an existing slab with visible repairs, since that pushes all of the appearance risk onto you.
A written brief keeps every bid describing the same job. It does not need to be technical; it needs to be complete. List each room with its size and current covering, attach the patch photos, state the appearance level and exposure class you want, and say whether you want color, a guard or both. Mention furniture that cannot move, pets, working hours and whether anyone will be home. Send the same brief to everyone.
Close the brief with the things you expect each proposal to state: number of grinding and polishing passes with grits, the densifier product, how cracks and joints will be treated, dust control method, mock-up terms, final gloss or DOI readings, and what happens if the finished floor does not match the mock-up. The estimate request form asks for most of this, so you can paste the brief into it directly.
HomeGuide puts a residential polish at 2–4 days for floors up to about 2,000 square feet, with repairs, leveling and color adding days. Removal of old flooring comes first and can take as long as the polish itself, especially with glued tile or thick mastic. Plan for the whole room to be empty, including baseboards if the contractor wants to grind right to the wall. Built-in cabinets stay, but the edges around them are hand-ground and may look slightly different.
Polishing is walkable almost immediately because there is no film to cure, which is one of its advantages over coatings. Dyes and guards add short drying windows. The real disruption is noise and, with dry grinding, dust. Ask how the contractor controls dust, whether you need to seal off HVAC returns, and whether it is realistic to stay in the house. For a basement or single room, most families do; for a whole ground floor, many plan a few nights elsewhere.
Some slabs should not be polished. A floor with widespread oil saturation, large areas of patching, a crumbling surface that fails a scratch test, or significant unevenness may be a better candidate for an overlay, a coating or conventional flooring. Very thin toppings over wood framing can crack under grinding. Owners in rooms that need warmth underfoot or sound absorption should also weigh whether a hard floor suits the space at all.
There is no shame in stopping at the assessment. A proper grinding and leveling visit tells you more about your slab in an hour than any amount of reading, and the cost of that visit is small compared with a floor you dislike. If the answer is a sealed ground floor rather than a full polish, the grind-and-seal comparison explains when that cheaper route makes more sense.
Homeowner polls
No votes yet. Yours will be the first. · saved on this device
The CPC exposure chart recommends a mock-up on the actual slab.
No votes yet. Yours will be the first. · saved on this device
No votes yet. Yours will be the first. · saved on this device
Allow a few weeks between first contact and the work itself; HomeGuide puts residential polishing at 2–4 days on site, but the lead-up takes longer than the work. Contractors need a site visit, a mock-up usually needs its own trip, and busy specialists book ahead. If old flooring has to be removed, schedule that first and leave room for surprises underneath. Owners who try to squeeze assessment, mock-up and full polish into a single week often end up skipping the mock-up.
Not all of it. A small uncovered patch in each room is enough for an assessment. Removing everything before choosing a contractor risks exposing adhesive or damaged areas with no plan for them, and some polishing contractors prefer to remove coverings themselves because they know what their grinders can handle. Ask each bidder whether removal is included or expected to be done first.
That is common where additions or garages were poured at different times. Ask for a mock-up in each distinct area, and consider different exposure classes or a dye to tie them together. A threshold or change of direction can make a visible transition look intentional. Expect the contractor to price the areas separately if the tooling needs differ.
Yes, and it is easier. Angi prices a new slab for polishing at $4–$8/square foot, and by our count of Census new-home data 754,000 single-family homes were completed on slab or other foundations in 2025. Telling the builder and concrete placer in advance lets them choose a mix, protect the slab from trades, and finish it with polishing in mind. New slabs still need time to cure before polishing, and the concrete trade and the polishing trade need to agree who is responsible for protecting the surface during framing and drywall.
It can be, but small floors cost more per square foot because setup and equipment transport do not shrink with the room. A single basement room or a small office is still a reasonable project; just expect the per-foot price to sit near the top of published ranges. Grouping two or three rooms into one mobilization usually improves the price, since HomeGuide prices jobs under 1,000 sq ft against those over 5,000 at $8–$15+ vs $3–$6 per square foot.
Think about how long you will keep the floor and how it is used. A sealed ground slab costs less up front but needs the sealer renewed, and the sheen comes from a film. A polish costs more once and then needs little beyond cleaning and an occasional guard. For a rental or utility space, sealing is often enough; for a main living area, polishing usually wins.
Attach them to every estimate request and label each with the room and location. They let a contractor spot adhesive types, crack patterns and patch materials before the visit, and they give you a record to compare against the finished floor. Keep them with the contract; if there is a dispute about what was pre-existing, they are your evidence.
Indoors, less than you might think. Polishing happens inside a conditioned space, so winter work is normal. Dyes and guards prefer moderate temperatures and humidity, and garages in cold climates may need heat for those steps. Summer humidity in the South can slow drying of water-based products. Ask the contractor what conditions their products require.
 Service guideConcrete Polishing
Concrete polishing grinds an existing slab with progressively finer diamond abrasives, hardens it with a densifier and refines it to a specified sheen and aggregate exposure.
 Service guideConcrete Grinding & Leveling
Grinding uses coarse diamond tooling to remove coatings, adhesives, lips and high spots and to open a surface profile for whatever finish follows.
 Service guideConcrete Sealing & Protection
Sealing and protection treatments defend a concrete floor against stains, moisture and wear, and they range from penetrating silicates and siloxanes that leave the look unchanged to film-forming acrylics, urethanes and epoxies that add gloss and a wear layer.
 CostsConcrete floor finishing costs in 2026: polish, stain, grind or seal
Finishing an existing concrete floor costs $1 to $3 per square foot to clean and seal, $2 to $5 to grind and seal, $3 to $12 to polish and $3 to $15 to stain, based on HomeGuide, Stelr and Angi.
 MaterialsConcrete floor finishes and materials: what each product actually does
A concrete floor's finish is built from a short list of materials: diamond tooling that cuts and refines the surface, a silicate densifier that hardens it, optional dye or acid stain for color, a penetrating guard or film-forming sealer for stain protection, and patching or overlay compounds for repairs.
 PermitsPermits, codes and rules for polishing and finishing a concrete floor
Polishing, staining or sealing an existing interior slab is finish work that most jurisdictions do not permit, but rules vary locally.
 Free toolPolished concrete cost calculator: a planning range for your square footage
Size, material tier and complexity in, a realistic budget range out.
 Free toolConcrete floor options compared on the numbers
Side-by-side tables for the decisions that change the price most.
 Free toolConcrete finish quiz: can you read a polishing proposal?
9 questions that show what you already know and what to check next.
 Free toolPolls: what other homeowners planning concrete floors decided
See what other planners chose and add your vote.
Tell us the size, the condition of what is there now, and what you want to change. Concrete Finish Notes passes your request to independent local professionals, who reply with written, no-obligation estimates. The service is free to use.